
Master Of Pottery What to Buy in the Store First
Yen spent on tools and parts grades pots. Yen spent on drinks grades your calendar.
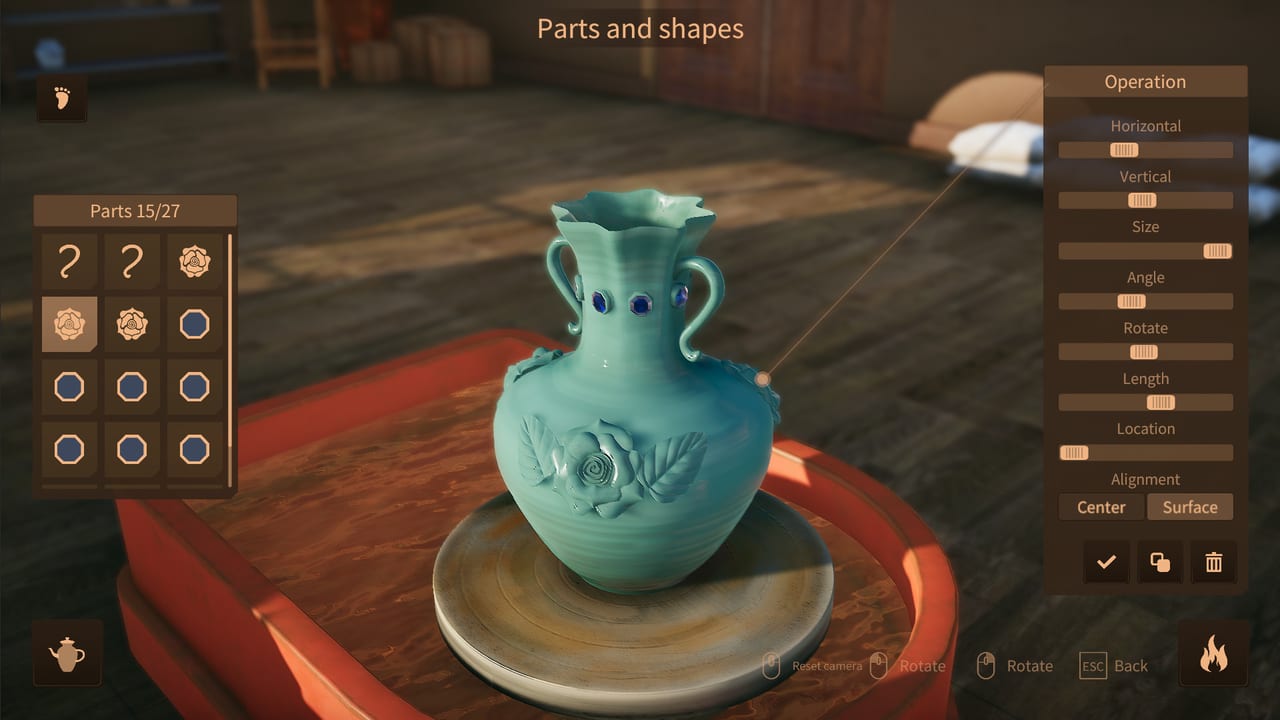
The Master Of Pottery store is a career tree. Everything is priced in yen, everything unlocks in waves, and almost every row either makes a pot score higher or makes the hall earn faster. This page is the buy order that wastes the least money between your first exhibition and a 1.0 workshop that can actually chase SSS.
Default spend order:
- Throwing tools and bulge tools
- Handles, lids, and spouts (parts)
- Colours
- Patterns
- Booths
- Ads
- Decorations
- Tea House drinks
Deviate when an achievement or a tourist drought demands it, then return to the list. The clay materials list is the other half of the budget: late clay and glaze are not in this numbered list because they are materials, but they compete for the same yen. After a fat exhibition, split the purse between the next store row here and one upgrade in clay or glaze, not ten impulse pigments.
S-tier buys: throwing tools, bulges, parts
Throwing tools and bulge tools change what you can physically form on the wheel. More control means more strokes, and stroke count is a scoring input. Buy these before decorative store fluff. If a tool lets you push a wall, open a belly, or add a bulge you could not form by dragging alone, it is S-tier.
Handles, lids, and spouts are the parts kit. Finished works can carry up to 50 parts, and each attached part is extra score. A teapot without a lid is a missed row. A vase with no handles when the form wants them is a missed row. Unlock the part types as soon as they appear, then actually attach them on the bench. Owning a spout you never click onto the body does not grade the pot.
These rows also make exhibitions look like a real hall instead of a row of identical cylinders. Tourists notice variety even when they are not scoring your kiln.
A-tier: colours, then patterns
Colours are cheap and multiply paint strokes. Buy them as they appear so the paint bench is never stuck on three hues. You can paint over a layer; the game counts the work. A deep colour library is how you turn an A-tier clay into an SSS candidate without waiting for a DLC pack.
Patterns come next because they are more expensive and more style-specific. Early stamps are fine for volume. Later stamps and paid packs are what you load when an order or a showroom theme wants a match. Patterns are A-tier for career progress and S-tier for SSS when you already have parts and a clean kiln. Do not buy every pattern on the day they unlock if booths are still empty.
A/B-tier: booths before vanity ads
Booths are how the hall scales. Each new booth is another work on a plinth, another reason for a tourist to walk in, and a direct requirement for Large exhibition hall (build every booth). Early booths are A-tier. The last booths are still A because the achievement and the tourist cap both care. Prices step up; the first extra booth is cheap, later ones are not. Buy them on rich days, not by skipping clay forever.
Ads (the publicity tab with the television icon) are how you push foot traffic and how you unlock Marketing expert (publicize 20 times). Newspaper-level ads are the efficient default. Magazine-level ads can be worth it on strong weather or when a new SSS piece needs an audience. Higher tiers often cost more than they return in ticket yen. Treat ads as a drip: one publicity a day toward the 20-count, not a full-page buy every morning.
Tourist attraction (50,000 visitors) is a long ads-plus-booths-plus-heat problem. Rotate stale works when exhibition heat stops moving. Ads without new work is shouting about an empty room.
B-tier: decorations
Decorations (walls, floors, ceilings, plants, benches, booth skins) live on the map’s decoration shop and equip in the brush-icon decoration tab. Ten decoration assets unlock Decoration enthusiasts. Some are paid in yen, some in raw material that buyers and graduated apprentices leave behind. They are B-tier for income and A-tier if you are finishing the achievement list.
Decorate after the hall has booths. A beautiful empty room still seats one pot.
S-tier late: Tea House drinks (inspiration cap)
Inspiration starts at 100 per day. Shop sales and teaching apprentices spend from that pool, so a busy day can leave you with one throw or none. The Tea House appears on the map after you complete its two orders: teacups around day 33, teapots around day 41. Once it is open, the Drink button sells permanent cap increases:
- 5,000 yen: 100 to 110
- 8,000 yen: 110 to 120
- 11,000 yen: 120 to 130
- 14,000 yen: 130 to 140
- 17,000 yen: 140 to 150
That is 55,000 yen to raise the daily cap to 150. The tea house restocks after exhibition days, so you can buy one drink per cycle. This is S-tier once it exists, because extra daily throws are how you grind ten SSS works and 30 warehouse pieces without aging the save for months. It is not S-tier before day 33; you cannot buy it yet.
After the five drinks, a further daily 20,000 yen drink can grant extra inspiration for that day without raising the cap. Do not buy it if you are already sitting on 150 unused points; the extra is wasted. Details and the order chain live in the inspiration guide. This page only ranks the purchase: after parts and a functioning hall, drinks beat vanity patterns.
What not to rush
Do not max ads before you have throwing tools. Do not max decorations before booths. Do not dump the till into every pattern the day a pack unlocks if you still cannot attach a lid. Do not skip clay entirely because this list looks like a checklist; a fully upgraded hall full of starter-clay cups will not print SSS.
Online rooms in version 1.0 add token income. That is extra currency for online features, not a reason to ignore yen. Keep the store order even when you are creating public rooms for faster tokens.
If a patch adds a new store row, slot it by function: tool, part, colour, pattern, booth, ad, decoration, or drink. Function beats flavour text. The only upgrade that should ever jump the queue is the one that unblocks the achievement you are actually finishing this week; the workshop tools hub keeps those counters next to the spec sheet.
Frequently Asked Questions
Quick answers about throwing, firing, and running your showroom.
What is the first store row I should buy?
Throwing tools and bulge tools, then handles, lids, and spouts. Those rows raise stroke count and part count, which the scoring pass actually sees.
When do I buy booths versus clay?
Buy the next booth when the hall is full and tourists have nowhere to look. Buy late clay when you can already fire cleanly and want SSS. Split a rich exhibition between both.
Are ads worth the yen?
Low-tier ads are worth it for tourist flow and for Marketing expert (20 publicities). High-tier ads often cost more than ticket returns. Drip them; do not all-in every morning.
Should Tea House drinks beat patterns?
Once the tea house is open, yes if you are short on daily throws. The 55,000 yen cap path to 150 inspiration is how you make more pots, which is how every other upgrade pays off.
Do decorations help scoring?
They dress the hall and unlock Decoration enthusiasts at ten assets. They do not replace clay, glaze, or kiln timing on the pot itself.
Where do I track inspiration and hall flow?
Inspiration math is on the inspiration guide. Hall layout, heat, and ticket flow are on the exhibitions guide. This page only ranks the store purchases that feed both.